In this post, I’ve made salted caramel filled cupcakes with vanilla butter cream icing. They are rather involved, but nothing is actually very difficult on its own. I’ve chosen a vanilla chiffon cake batter for the cupcake since it will hold up well to being filled. The techniques in these cupcakes also repeat themselves. Both the cake and icing require making a meringue. Both the caramel and the icing involve cooking sugar into a syrup.
The cake batter and butter cream icing recipes came from the Culinary Institute of America’s book: Baking and Pastry: Mastering the Art and Craft. The caramel recipe is inspired by the caramel recipe included in the Lemon Ice Box Cake from the Fine Cooking Annual Volume 2.
The first step in these cupcakes is, well, the cupcakes.
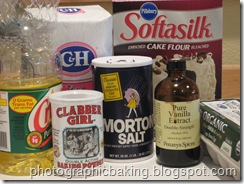
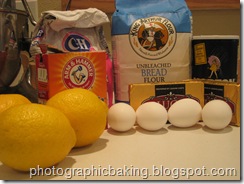
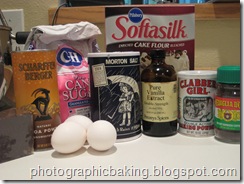
Here is the mise en place for the cupcakes. There actually isn’t any salt in the recipe, I accidentally included it here in the picture because I mistakenly assumed that it contained salt.
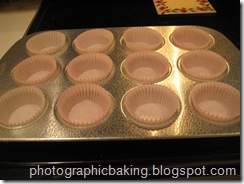
Getting the cupcake pan ready is important as you want to get them into the oven as soon as the batter comes together. The batter can wait a bit, but it is best to get it all into the oven as soon as you can.
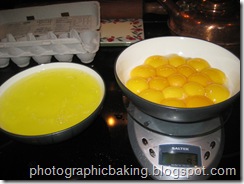
The eggs must be separating out for this cake. The recipe I’m using calls for eggs by weight. I’ve used about 17 large eggs, because it was all I had in the house, the recipe actually needed more egg yolks than I had. To compensate I ended up using more oil than the recipe called for. The egg whites from the 17 eggs was more than enough for the recipe.
An important note for separating eggs is that you should use the freshest eggs you can get. The longer the eggs have been sitting, the more likely it is that the egg yolks will break. Also, you should separate them in a third bowl, just in case the yolk does break. That way you don’t ruin a bunch of egg whites by getting yolk into them. If that happens, you have to throw out all the whites since any fat in them will cause them to not be whip-able into meringue.
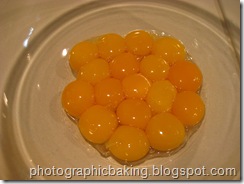
The egg yolks go into a larger bowl so they can get mixed with other ingredients.
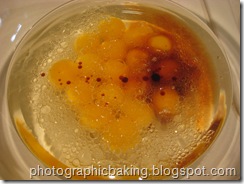
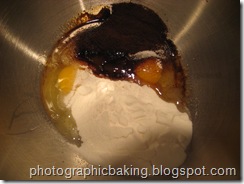
The yolks get mixed together with vanilla, water, and vegetable oil.
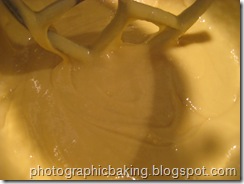
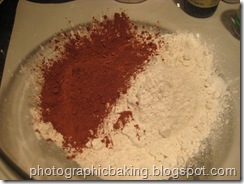
Then they get mixed into the dry ingredients (cake flour, sugar, baking powder).
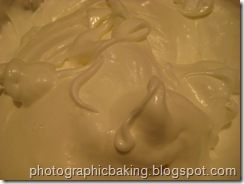
Once that is all mixed, then the egg whites get whipped into meringue with a small amount of the sugar. The meringue should form medium peaks. The best way to get meringue to form quickly is to make sure the bowl, beaters, and egg whites are all really cold. I put the bowl and beaters into the freezer for half an hour prior to whipping the meringue. The egg whites stay in the fridge until ready to whip.
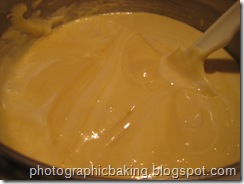
Once you have the meringue, a third of it gets mixed into the cake batter to lighten the batter.
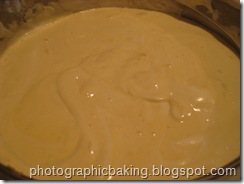
Afterwards, the remaining whites get folded into the batter in two batches. The batter should be markedly lighter in color and fluffier. Don’t over mix the batter though as you don’t want to undo all the effort of the meringue.
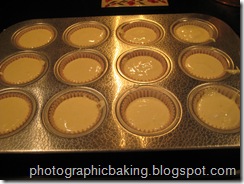
The batter should be measured out into the cupcake pan. The batter should come to just below the top of the paper.
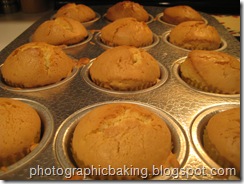
The cupcakes get cooked at 375 degrees Fahrenheit for about 25-35 minutes, or until they are golden brown and a toothpick comes out clean.
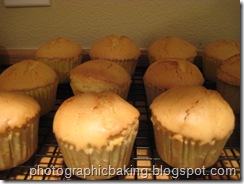
The cupcakes should cool in the pan for a few minutes, but then be removed to a wire rack to finish cooling.
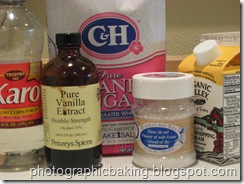
Next up is the salted caramel. Here is the mise en place for that. Yes there is corn syrup in the caramel. It can be omitted, but the caramel is much more forgiving if it is included and you don’t have to worry so much about the caramel getting grainy.
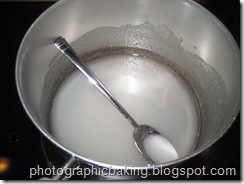
The sugar, corn syrup, and water go into a pan over medium to medium-high heat.
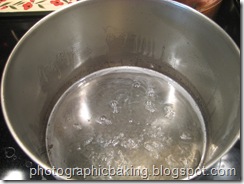
You should stir the mixture just until it starts to boil. After that, it shouldn’t be stirred because you could shock it into sugar crystals and cause it to be grainy.
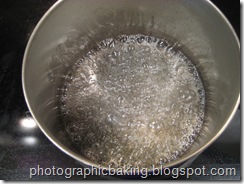
The mixture will boil harder. At this point you can slowly swirl the pan a few times to make sure it cooks evenly. If you haven’t included the corn syrup, you shouldn’t swirl it at all.
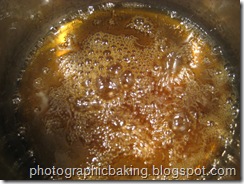
Once the mixture turns a dark amber (just past the stage in the photo), you have caramel.
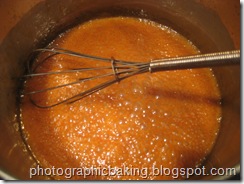
Remove the caramel from the heat and add the heavy cream and about half a teaspoon to teaspoon of salt. The mixture will boil like crazy. Whisk it together until smooth (you can add it back to the heat if necessary).
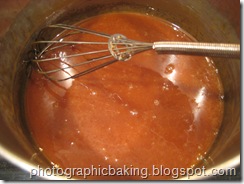
After the caramel is smooth, add the vanilla and whisk until combined. If you want candy-type caramel then you can add less heavy cream than called for. If you want more of a sauce or syrup, then more can be added. For these cupcakes, you want it somewhere in between.
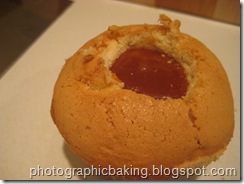
Using a sharp knife, cut a hole into the top of your cupcakes. Then, carefully put the caramel into a piping bag with a relatively large tip. You want the caramel warm, but not hot. It shouldn’t be so hot that it burns you if you touch it, because you will probably get a decent amount onto your hands. Carefully pipe the caramel into the holes you’ve cut into the cupcakes. You want to fill the hole all the way to the top as it will slowly seep into the cake. Don’t worry about dripping the caramel on the top of the cakes since it will be covered with icing later. The fine cooking recipe that I’ve used makes about enough caramel to fill a dozen cupcakes.
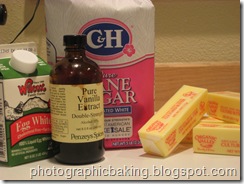
The final stage of these cupcakes is the butter cream icing. I’ve used the Italian butter cream recipe from the Culinary Institute of America book. Here is the mise en place for them.
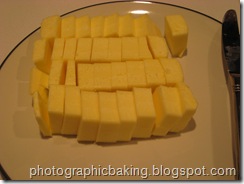
The recipe takes a full pound of softened butter, cut into small chunks.
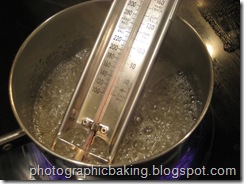
Once again, sugar and water gets mixed and boiled on the stove. You want to cook it to the hard ball stage. There is no corn syrup in this mixture, so definitely no stirring or swirling once it starts boiling.
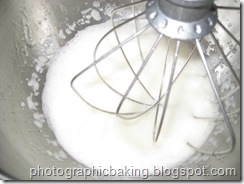
Once again, the egg whites and sugar get whipped in a cold bowl until you have medium peaks in the meringue.
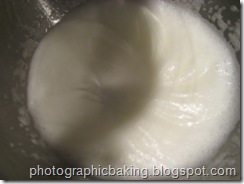
This is the meringue slowly taking shape. Once again, the fresher the egg whites you can get, the easier the meringue is to form. I chose to use pasteurized boxed egg whites and it took quite a while to make the meringue. It would have been better to use fresh egg whites. The syrup should cook the egg whites enough that you shouldn’t have to worry about salmonella.
After you have the meringue forming medium peaks and the syrup at the hard ball stage, you want to slowly stream the syrup into the meringue while whipping at a medium speed. You have to be careful to not let the syrup hit the wire whip on the mixer otherwise the syrup will immediately solidify. This is definitely a case where making a larger batch of icing is going to help you.
Once you have incorporated all of the syrup, you should beat on high until the meringue returns to room temperature. Then, on medium speed mix in the butter one piece at a time, making sure to wait until the previous piece is fully incorporated first. The icing may appear to “break” at some point along the process and look chunky and grainy, however, if you continue to beat it it will return to a nice fluffy and smooth consistency. Once all the butter is mixed in, then you can mix in the vanilla.
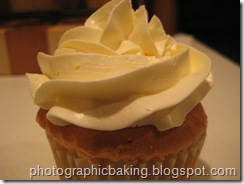
Once the icing is ready, move it into a piping bag with a large star tip and pipe it into a spiral on top of each cupcake. You can pipe it however you’d like, or even just smother it on with a spatula. But, the star tip spiral certainly looks nice and gives it a semi-professional look without being hard to create.
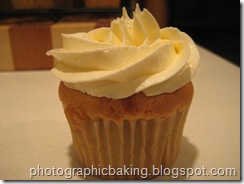
Here is another view of an iced cup cake. This butter cream icing recipe isn’t overly sweet and is extremely fluffy. It also doesn’t harden when left out. It can be mixed with some melted and cooled chocolate to cream a tasty chocolate butter cream.
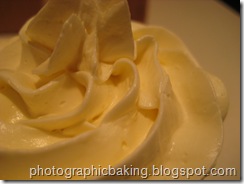
And a close up of the icing. If you look closely you can see some of the imperfections in the icing created by small air pockets in the icing.
